Well its been a while since my previous post. 'Life' got in the way what with the Christmas build up then the big event itself. Hope you all had a great Christmas!
I was also abit taken over updating my other blog about the Elf visitor we had during December.
This year we started a new family tradition of 'Elf on the Shelf'. Its where a magic Elf visits you everyday then flies back to Santa each evening to report back on their behaviour. On his return each morning he hides or is found doing something abit cheeky. Heres our Elf Blog:
I thought id start by updated you on some of the Xmas Crafts we did.
Firstly i'll show you some crafty things I had myself. This is my edelst modelling her new Chrsitmas t-shirt! I search for ages trying to find an Christmassy top for a 3yr old. You would not believe how hard it was and could only really find baby sized ones. In the end I gave up made my own. I utilised a plain white t-shirt we had and used felt to make the reindeer. I used buttons for his eyes and stitched it onto the white top. Super simple and she loved it!
Given that Id bought a huge pack of coloured felts and was in making mode, I decided to make a few more bits too.
Some Owl Tree decorations
and these personalised Gingerbread men hanging decorations with some homemade fudge and sweets made great presents for Abigail's Preschool teachers.
Moving onto more of the Children's crafts. Every year we make our own cards. I find hand/footprints etc work well and the family love receiving them and keep them as momentos.
This year we used our fingerprints to make little strings of Christmas lights. Easy peasy and quick to do. You just need some blank cards, some coloured paints and a black pen.
Draw a wiggly line for the lights cord then use finger prints to make the light bulbs. Make sure the prints are reasonably close to the cord then when the paint is dry draw a little squiggly line to connect the two. This makes it look like the old fashioned screw in bulbs.
We had quite a few to do but found a bundle a day helped get through them all. Really helped with colour recognition too allowing them to pick which colour they wanted each time.
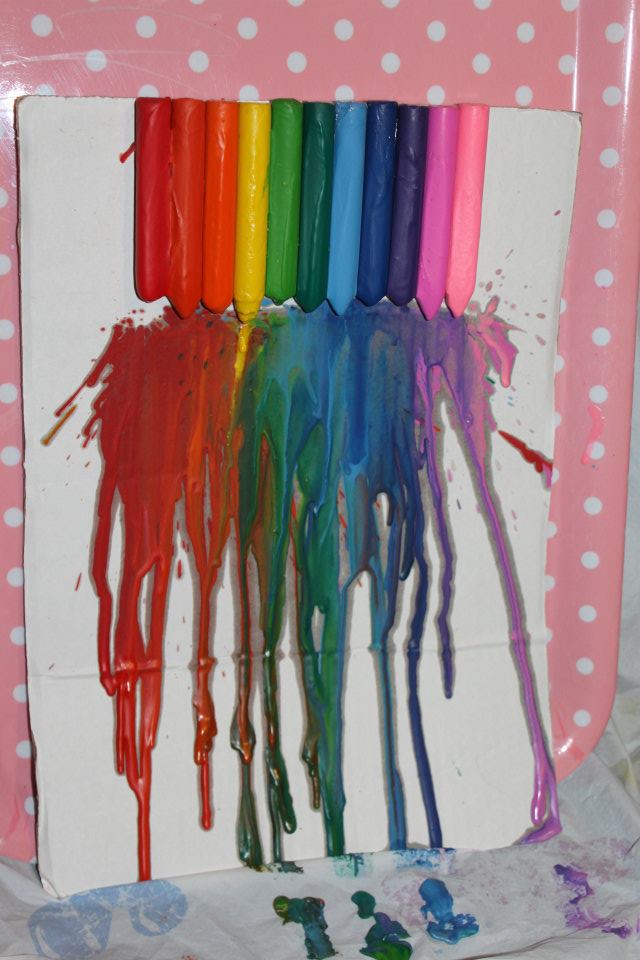
Sometimes a simple painting activity can throw up some fantastic work too. This is my 3yr olds painting of Santa. I love it and it formed part of a calendar for the grandparents.
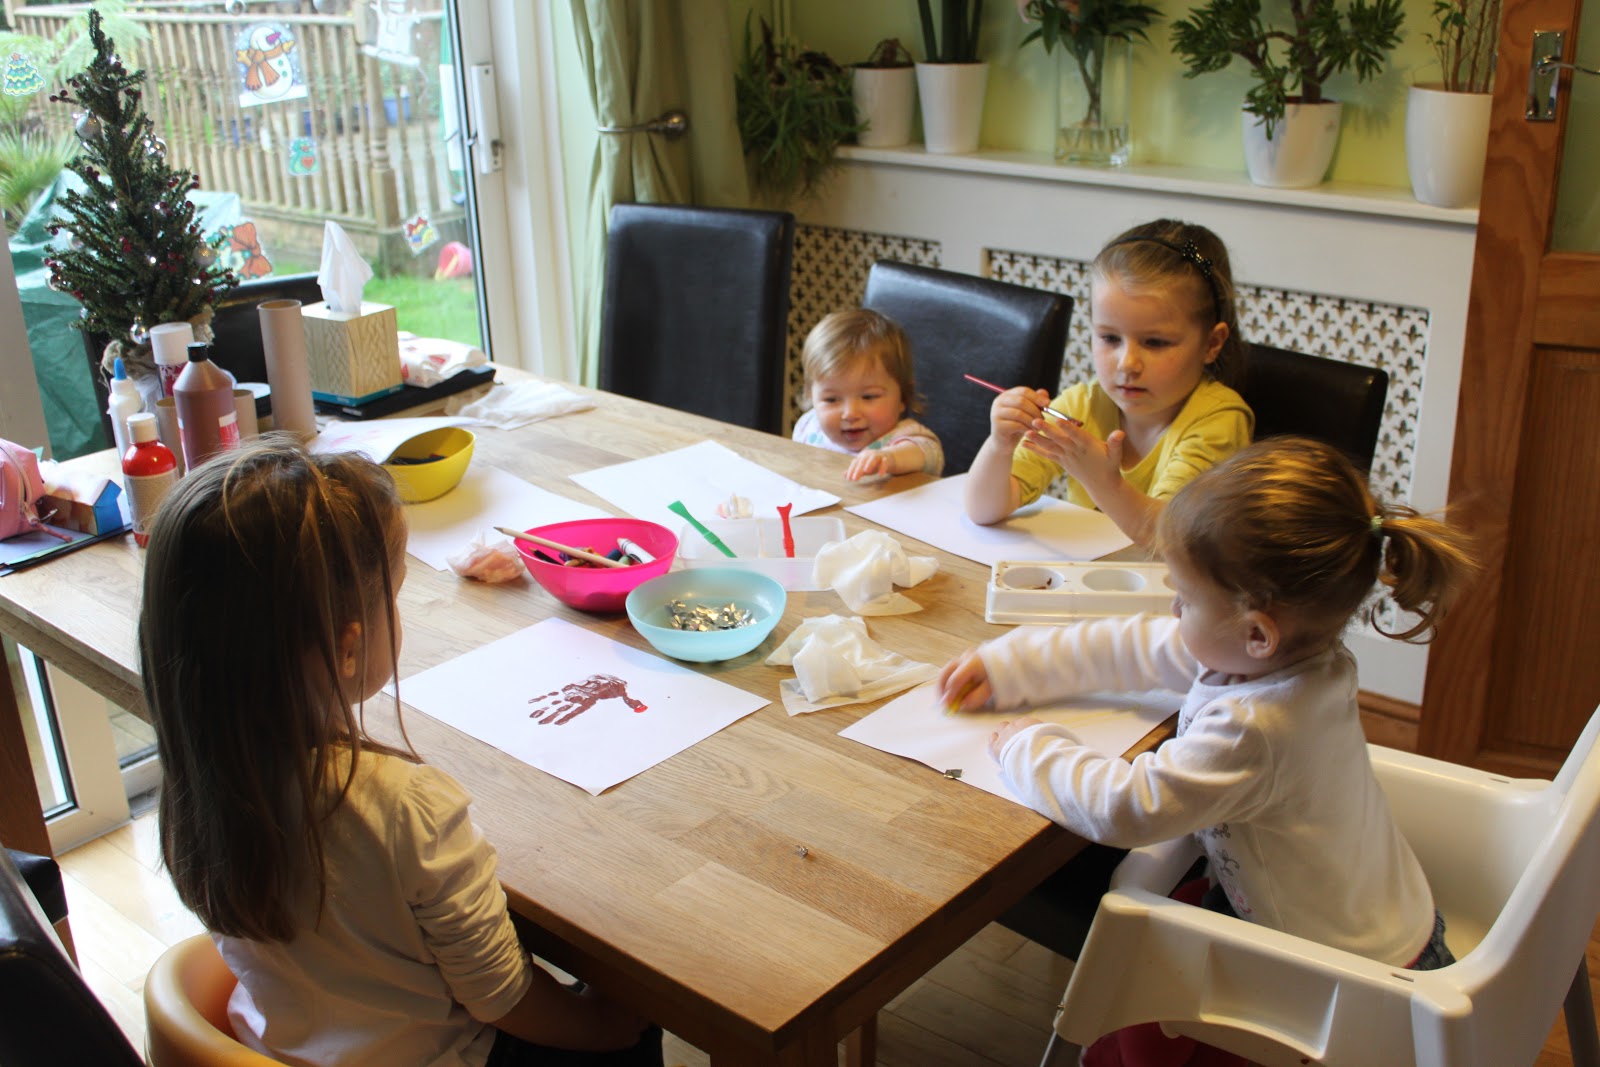
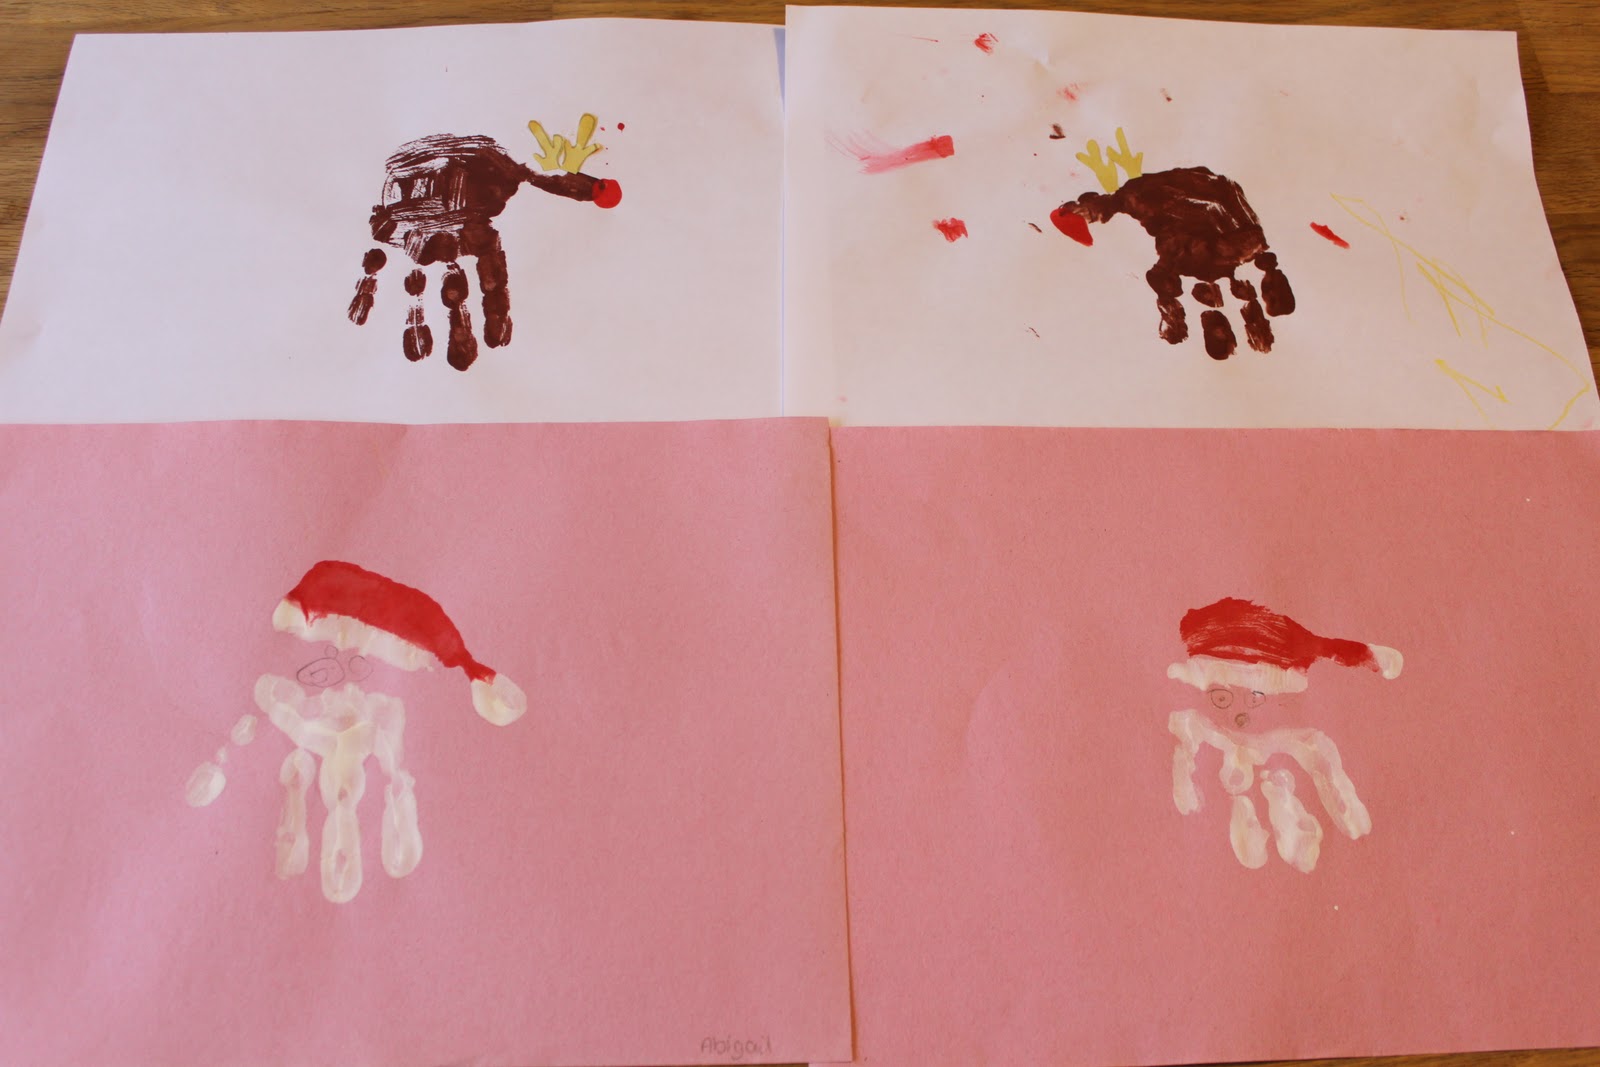
We had a few Christmas craft days with friends during the holidays which they all enjoyed. Their ages ranged from 14mth to 4 years so we created various Handprint pictures as its an activity that all ages can join in with.
Some Reindeer and Santa handprints.